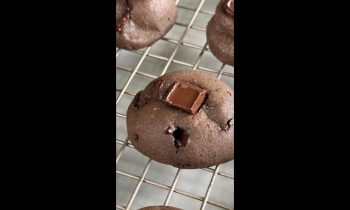
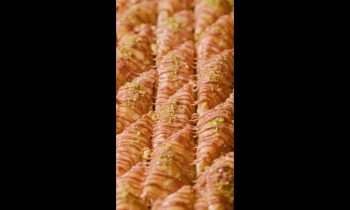
@RetroRecipesKitchen The Key Lime Icebox Pie, 1940.
There's nothing about this recipe that isn't perfect. If you make it, I think you'll agree!
RECIPE:
Key Lime Ice Box Pie
1/3 cup cold water
1/2 Tbsp gelatin
4 eggs, separated
3 Tbsp lime juice (or more, if desired)
1 cup granulated sugar, divided
1/8 tsp salt
1 cup whipped cream, for serving
Crust
2.5 cups (315g) all-purpose flour
1 tsp kosher salt
6 Tbsp (85 g) cold unsalted butter
2/3 cups (130 g) shortening
1/2 cups (120ml) cold water
INSTRUCTIONS:
To make the crust: Combine flour and salt in a medium bowl, whisk to incorporate.
Using a pastry cutter or food processor, add the butter and shortening and cut/pulse to pea-sized balls appear in the flour.
Gradually add cold water, little by little, until you have a firm, pliable dough that you can roll out.
Bake at 400ºF for 15 minutes, or until the crust is golden. Set aside to cool.
To make the pie filling: Add gelatin and cold water into a mixing bowl. Set aside and follow chilling instructions on the package.
Bring a medium to large pot of water to a simmer for a double-boiling process.
Place separated egg yolks, lime juice, and 1/2 cup sugar in a metal mixing bowl large enough to sit on top of the pot. Set bowl over simmering water to start the double-boiling process.
Whisk continuously by hand until the curd begins to thicken and the sugar has dissolved. Should develop a creamy texture.
Remove from the heat and add into the bowl with set gelatin, mixing with wire whisk until well combined.
Whisk the egg whites by hand to soft peaks. Gradually, add the remaining 1/2 cup sugar and whisk until stiff peaks form and your meringue holds a firm, glossy texture. Alternatively, you can use a stand or hand mixer. Be careful not to over whisk.
Combine the meringue with your lime curd base by folding gently with spatula.
Gently, pour mixture into your baked pie crust. Allow to set in your refrigerator for several hours.
When ready to eat you can top with whipped cream or drizzle sweetened condensed milk on top.
Enjoy!
live
MEDIA_ELEMENT_ERROR: Format error


